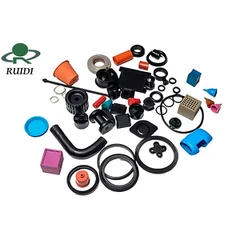
From automotive to hydraulic engineering, the clamp with rubber insert has become a vital component for securing pipes, hoses, and cables. It absorbs vibration, prevents surface damage, and ensures a stable grip, making it essential in many industries. Improper installation, however, can undermine its performance. This guide details how to install a clamp with a rubber insert correctly to maximize its functionality.

What Makes a Clamp with Rubber Insert Unique?
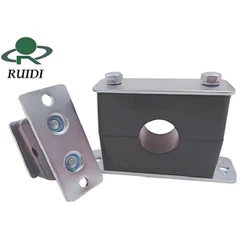
A clamp with a rubber insert features a metal body and integrated rubber lining. Unlike standard clamps, the rubber insert reduces friction, absorbs radial vibration, and protects delicate surfaces from scratches. It also accommodates temperature-related expansions, making it perfect for harsh or dynamic environments. The clamp with rubber insert delivers reliable performance only when installed properly.
Pre-Installation Preparation
Before installation, gather essential tools: a properly sized clamp with a rubber insert (matching the component's outer diameter), a screwdriver or wrench, a cleaning cloth, and lubricant (for rusted fasteners). Choose a clamp with a rubber insert compatible with your application-e.g., heat-resistant for high-temperature settings or corrosion-resistant for marine use.
Step 1: Clean and Inspect the Surface
First, use a cleaning cloth to remove dirt, oil, or debris from the pipe, hose, or cable where the clamp will be placed. This ensures a tight fit and prevents contaminants from weakening the rubber insert's grip. Next, inspect the clamp with rubber insert for damage, ensuring the rubber insert is intact, and the metal body is undamaged.
Step 2: Position the Clamp with Rubber Insert Rubber Insert Clamp
Slide the clamp with rubber insert over the component, ensuring the rubber insert faces inward to contact the surface directly. Position it at the desired location-typically near joints or vibration-prone areas-and center it for even pressure distribution. Avoid placing the clamp with a rubber insert near sharp edges or bends.
Step 3: Tighten the Fasteners Properly
Use the appropriate tool to tighten the clamp's fasteners gradually. Do not over-tighten, as this can compress the rubber insert too much, reducing its elasticity. Tighten in 1/4-turn increments, checking the fit each time. For multi-fastener clamps, use a diagonal sequence to ensure even pressure.

Technology First
We offer a variety of transmission components
Final Inspection and Maintenance Tips
After installation, confirm that the clamp with the rubber insert is securely in place and the rubber insert is properly seated. Gently tug the component to check for movement and inspect the rubber insert for misalignment. In high-vibration settings, recheck the clamp with a rubber insert periodically to ensure it remains functional.
Expert Advice on Installation
"Proper installation unlocks the full potential of a clamp with a rubber insert," said an industry expert. "Following these steps ensures long-lasting protection, lower maintenance costs, and prevents system failures." The clamp with a rubber insert remains a staple in various industries, and correct installation ensures it delivers optimal performance.
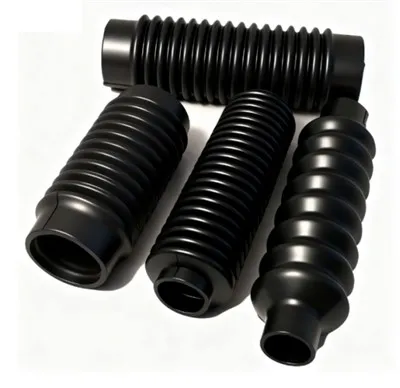
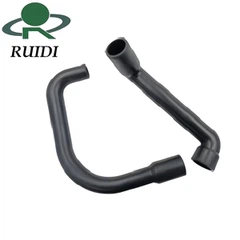
Are you ready to get a high-quality and cost-effective Rubber pipe clamp? This is our Rubber pipe clamp series. Rubber Insert Clamp